
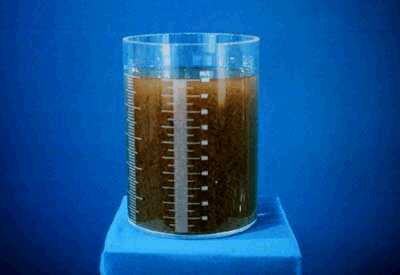
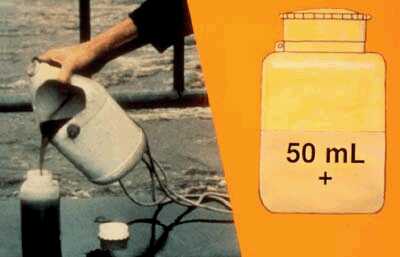
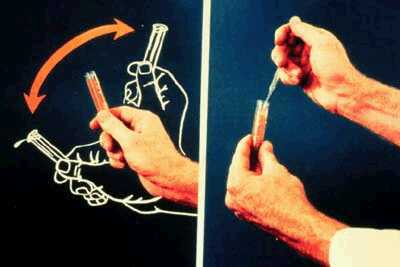
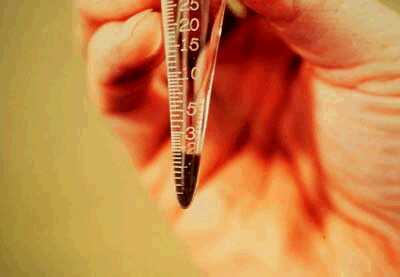
Slow settling in test...
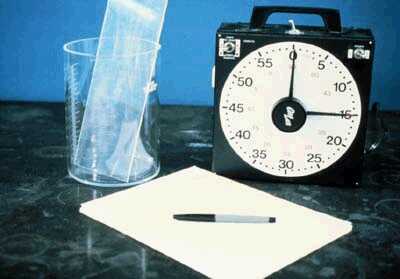
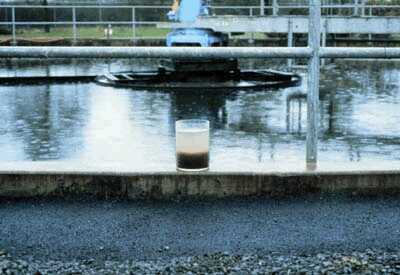
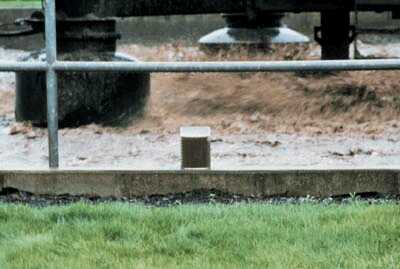
 "Settleometer"...

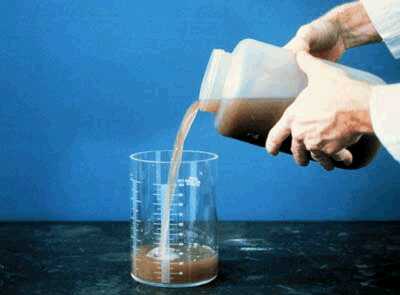
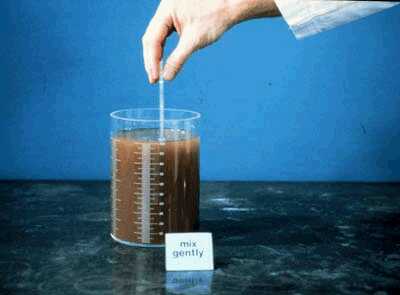
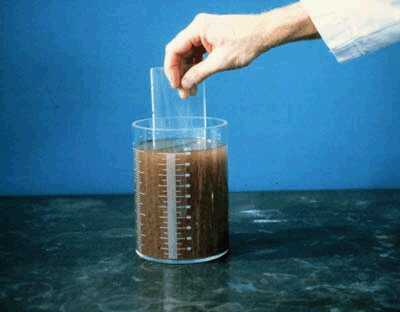
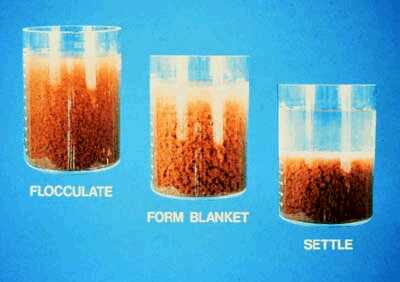
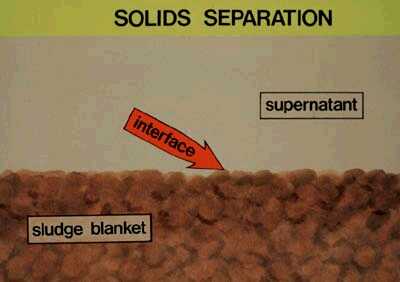

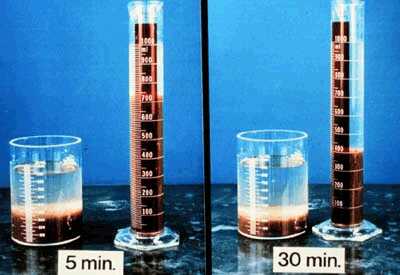
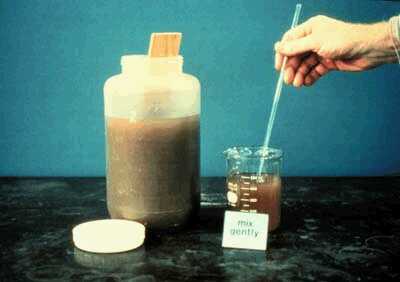
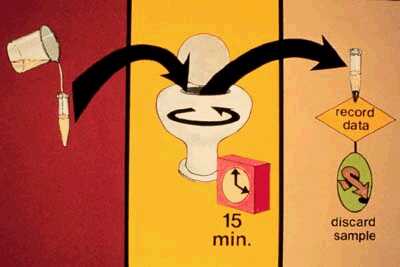
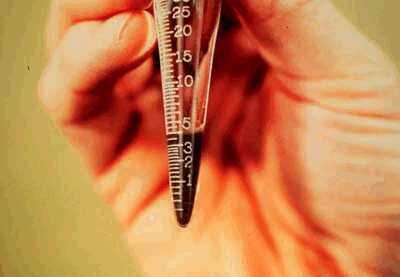
 "Settleability Test"...
"Settleability Test for Bulking Sludge"...
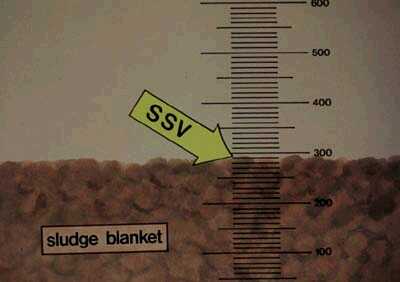
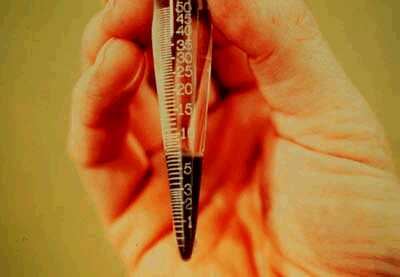
"Settleability Test"...
"Settleability Test for Bulking Sludge"...
 "Protozoa"...
"Rotifer"...
"Filamentous Bacteria"...
"Euglypha sp. - 1"...
"Euglypha sp. - 2"...
"Euglypha sp. - 3"...
"Protozoa"...
"Rotifer"...
"Filamentous Bacteria"...
"Euglypha sp. - 1"...
"Euglypha sp. - 2"...
"Euglypha sp. - 3"...
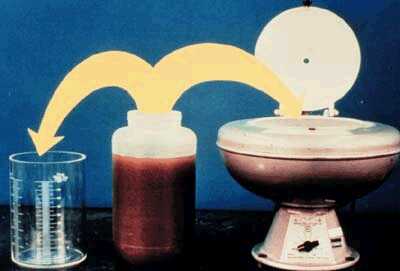


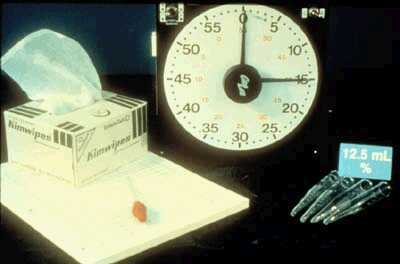

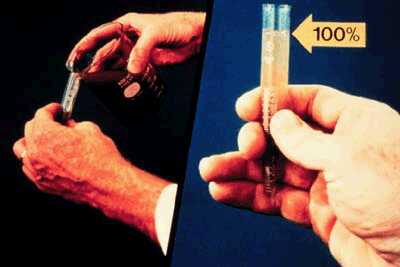
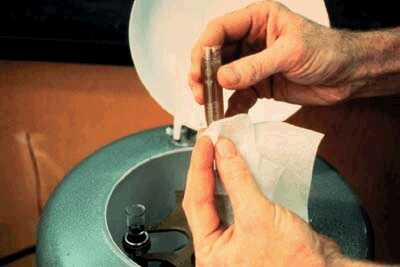


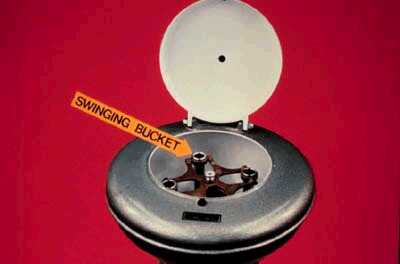
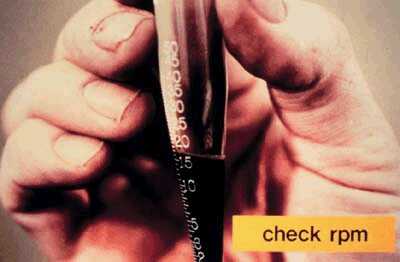
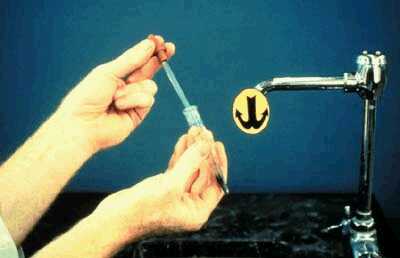
| Activated sludge - centrifuge test benchsheet |
| Date : ____________ Time : ____________ Analyst : ____________ |
| Sample location : _________________________________________ |
| Sample characteristics : ___________________________________ |
| ( 1 ) | ( 2 ) | ( 3 ) | ( 4 ) |
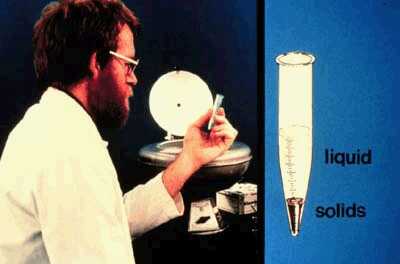
| Sludge source | Depth in mm of entire sample in centrifuge tube |
Depth in mm of solids after centrifugation |
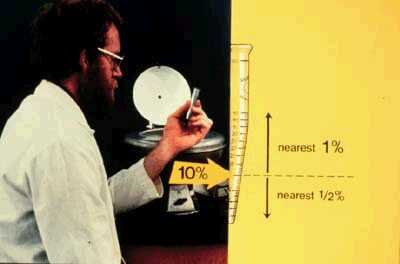
Percent solids [ ( 100 ) ( 3 / 2 ) ] |
| ATC | _______________________ | _______________________ | _______________________ |
| RSC | _______________________ | _______________________ | _______________________ |
| WSC | _______________________ | _______________________ | _______________________ |

