| Oracle® Database 2 Day DBA 10g Release 2 (10.2) Part Number B14196-02 |
|
|
View PDF |
| Oracle® Database 2 Day DBA 10g Release 2 (10.2) Part Number B14196-02 |
|
|
View PDF |
You add disks to a disk group to increase the total amount of storage space in a disk group. You can add one or multiple disks in a single operation. ASM then rebalances the disk group so that data is evenly distributed on all disks, including the newly added disks.
You can control the power of the rebalance operation, which is a number from 0 to 11. The higher the number, the faster the rebalance operation completes. Lower numbers cause rebalancing to take longer, but consume fewer processing and I/O resources. This leaves these resources available for the database. The default value of 1 minimizes disruption to the database. A value of 0 blocks the rebalance operation altogether. Manual or automatic rebalance can then occur at a later time. (You may want to postpone rebalancing because you want to wait for a time when there are fewer demands on the database, or because you want to add more disks or drop disks later and want the rebalancing to be done only once for all disk group changes.)
See Oracle Database Administrator's Guide for more information about controlling rebalance operations.
To add one or more disks to a disk group:
Access the ASM Home page.
See "Accessing the Automatic Storage Management Home Page" for instructions.
Click the Administration tab.
If the Automatic Storage Management Login page appears, log in as the SYS user, connecting as SYSDBA. Provide the SYS password that is stored in the password file for the ASM instance. This password was set up when the ASM instance was created.
On the ASM Administration page, under the Disk Groups heading, click a link in the Name column to select the disk group to which you want to add disks.
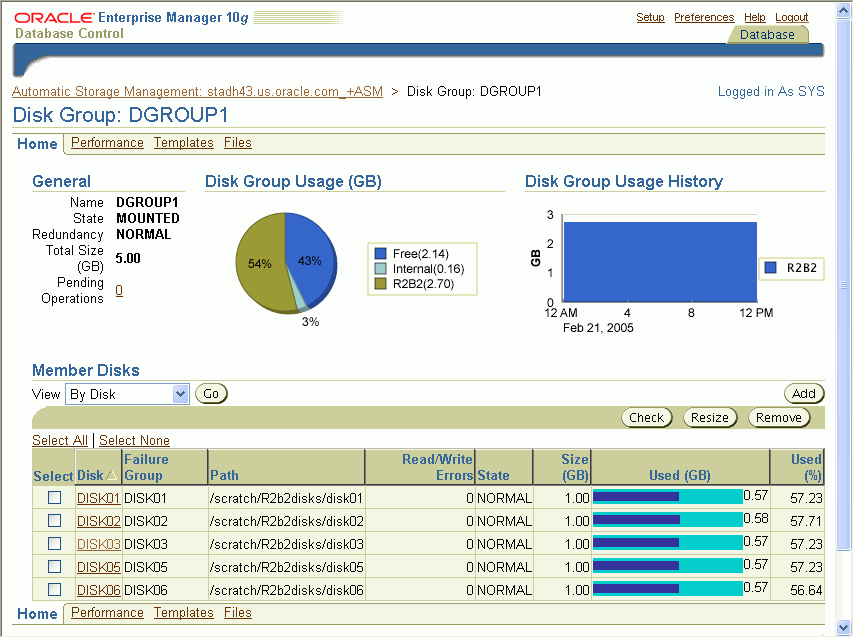
The Disk Group page appears, displaying a list of disks that are already in the disk group.

Click Add.
The Add Disks page appears. It displays a list of ASM disks that are available to be added to the disk group. This includes disks with the header status of CANDIDATE, PROVISIONED, or FORMER.
If you want to display not only disks that are available to be added to a disk group, but all ASM disks, including disks that already belong to a disk group (header status = MEMBER), select All Disks from the Select Member Disks drop-down list.
The page is redisplayed with the complete list of ASM disks that were discovered by the ASM instance.
Optionally change the rebalance power by selecting from the Rebalance Power drop-down list.
Select disks as follows:
Select the check box to the left of each disk that you want to add to the disk group.
If you want to force the inclusion of a disk in the disk group, select the Force Usage check box at the right.
|
Caution: The Force Usage check box causes the disk to be added to the disk group even if the disk already belongs to another disk group and has valid database data. This data will be lost. You must be certain that you are selecting a disk that can legitimately be added to the disk group. See Oracle Database Administrator's Guide for a discussion of theFORCE option. |
Optionally enter an ASM name for each disk. (ASM provides a name if you do not.)
Click OK to add the selected disks.